Lorem ipsum dolor sit amet, consectetur adipiscing elit, sed do eiusmod tempor incididunt ut labore et dolore magna aliqua. Ut enim ad minim veniam

Liquid error: Memory limits exceeded
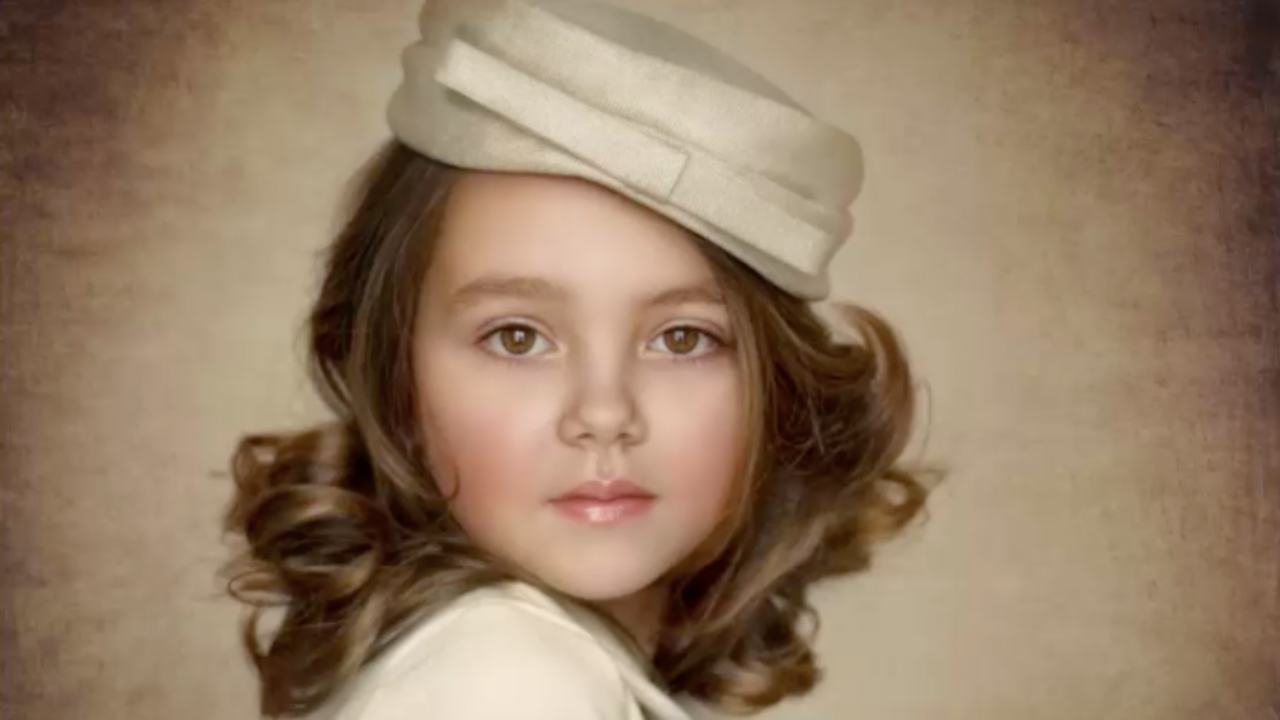
A Very Vintage Little Girl
Mar 18, 2022
Hey guys!
Today we're giving this little girl a vintage painterly feel.
To start, we resize the image ratio so that it fits anything we might be printing.

The first thing we're going to work on is our skin! We use the lasso tool and a blur filter to smooth it out; this gives our little girl a smoother and more dramatic look.

To add textures, we need to add some vignettes. The contrast gives us that dramatic feel we're looking for. I like to turn the layer I'm editing on and off to see the difference; so that I don't get too crazy with my edits!
We're going to load up some stock from my hard drive; I'm just looking for a nice texture. But, of course, you guys can find textures anywhere, so don't be afraid to explore and get creative!

I will flip my texture clockwise, have the whole surface fit nicely, and repeat with a second texture. I know this can be a little challenging, but you can always follow along with my step-by-step video tutorial available through my premium membership.
After we have our texture the way we want it, we will use our brush tool with 100% opacity to remove some of the vibrancy over the center. After that, we will bring down the opacity to about 20% and even out the sides for a smoother look.
The next step is to sample a color from the lips and make a solid color layer. When I work with kid edits, I like to brush color on their entire cheeks to give them a cute flushed look.
Now we're going to add shadows to a couple of areas. I go over the face, hat, and clothes, to give us that vintage POP we're looking for. Now for the dodging! We're to lighten some areas and go back and forth with the opacity o create more depth in our image.

Some areas might need a little more than the others, so it's essential to find a balance. You can watch my full video tutorial available through my premium membership to see exactly how I went through this process.
Because her hat and the background both have a slight cream color, I will use the eyedropper tool to create a solid color layer and then blend carefully. I go a little fast during this part, but you should take your time and make sure you get it right.
We screen a warm orange color and invert it before adding more contrast to our little girl's face. This part is a little tricky, and you can always access the full video tutorial; it's available through my premium membership.

Alright, guys, almost done! To wrap up, we will group everything and flatten the image. Then we add a new fill layer and gradient and set it to soft light. Finally, we want to reverse with peach and make our other side darker with a lower opacity. And that's it, guys! We have completed our vintage painterly look for our little girl!

If you'd like to follow along and see the full tutorial, you can access my full tutorial available through the premium membership.
Happy Editing,
Tara Lesher xoxo
Subscribe to our newsletter

Follow us on your favorite socials
Shop our Etsy Store
Explore
Resources
Connect
@2024 TARA LESHER | All Rights Reserved