Lorem ipsum dolor sit amet, consectetur adipiscing elit, sed do eiusmod tempor incididunt ut labore et dolore magna aliqua. Ut enim ad minim veniam


If You Enjoy Simple Edits, You'll Love This Bright and Airy Edit!
Hey everyone!
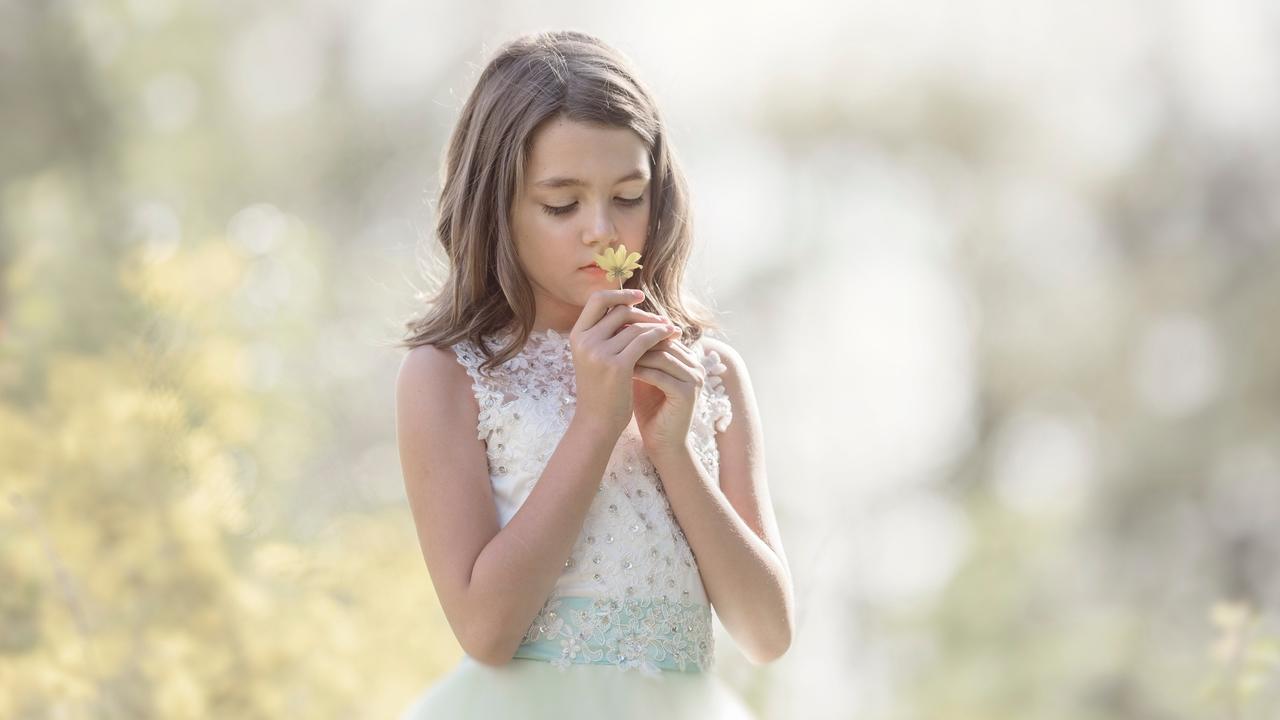
This edit was swift and straightforward to make. I was going for a bright and airy look.
Before I made the edits to get the desired image I wanted, I made some minor changes with frequency separation and some liquifying to the subject’s hair.
If you want to see the process from start to finish, sign up for a premium membership to view the full tutorial.

To begin the bright and airy look of the image, I brightened the whole image with a curves adjustment and played around with the saturation.
Since the image already has a lot of blur, I made slight adjustments to the blur to give a soft and dreamy feel.

With some adjustments to the color range and the Gaussian blur, it gave a gorgeous haze and glowed around the subject, adding to the end look I was going for.
I made some final adjustments to the edit to the skin to brighten it up and adjust some of the tones.

I always like to group my layers to see the difference between the original layers and see how the edit turns out. Turning the layers on and off helps me see in what direction my edit is coming.
It’s always fun to play around with some of the adjustments to see how they can transform the edit. If you would like to see the tutorial from beginning to end, you can sign up for a premium membership to access the full tutorial.

This edit was super quick and straightforward. Unfortunately, the image began a little underexposed and saturated. My final edit was bright and airy.
You can play around with different images to see the results you can get with the techniques I used in the tutorial.
Don’t miss out on any tutorials by signing up for a premium membership. You’ll get access to 0ver 500 tutorials to help you take your images to the next level!
PS. Grab my free Frequency Separation Action here!
Happy Editing!
Tara Lesher xo

