Lorem ipsum dolor sit amet, consectetur adipiscing elit, sed do eiusmod tempor incididunt ut labore et dolore magna aliqua. Ut enim ad minim veniam

Liquid error: Memory limits exceeded
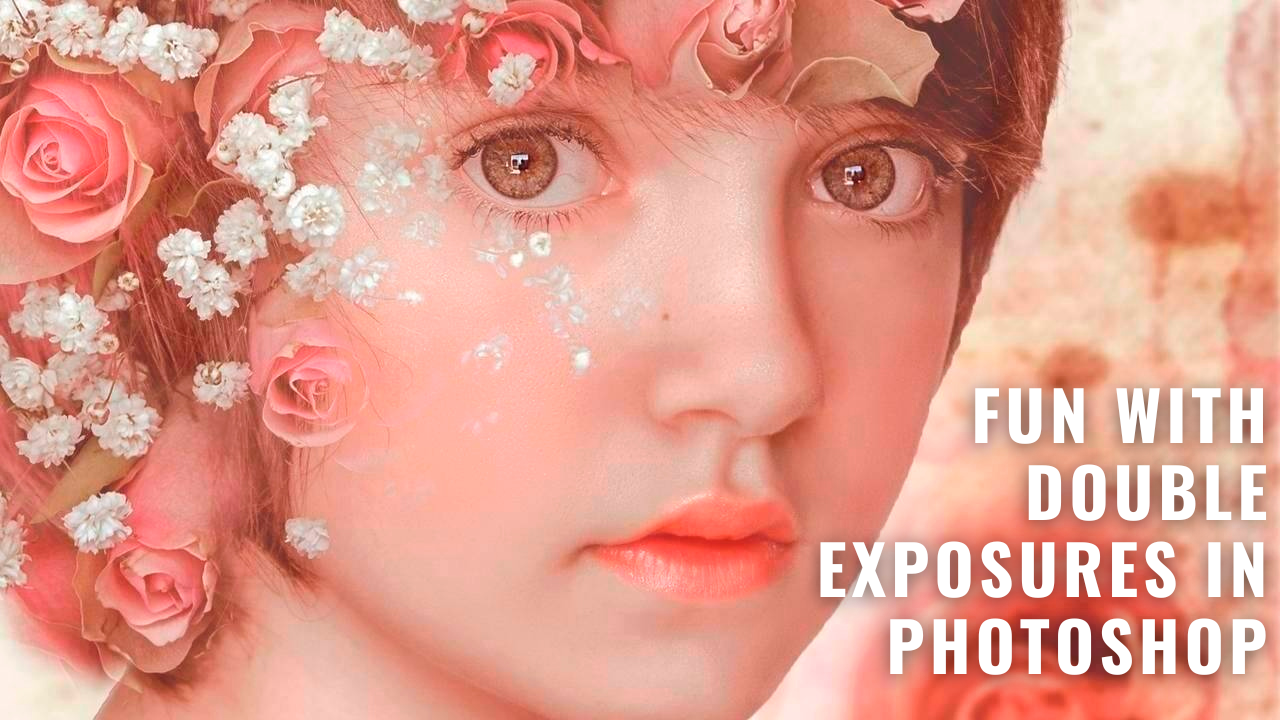
Seeing Double: Fun With Double Exposure in Photoshop
Aug 08, 2023
Hey there, my fellow shutterbugs and pixel painters! It's your friendly guide Tara, back with another exciting journey into digital artistry. Today, we're going to explore the enchanting world of double exposures. You know, those captivating images where a person's silhouette is filled with a breathtaking landscape or a vibrant city skyline or nature. So, grab your favorite portrait; a stunning landscape or foliage works great too, and let's double the excitement with Photoshop!
The Perfect Pair – Portrait and Landscape
You'll need two photos to start your double exposure adventure: a portrait and a landscape. To make the blending process a breeze, the picture should be crisp and well-lit, preferably against a light background. For the landscape, opt for something that contrasts beautifully with the portrait, like a lush forest or a star-studded night sky. A quick tip: Avoid using a photo of your uncle devouring a hotdog at the family picnic – it might not give you the artistic result you're aiming for!
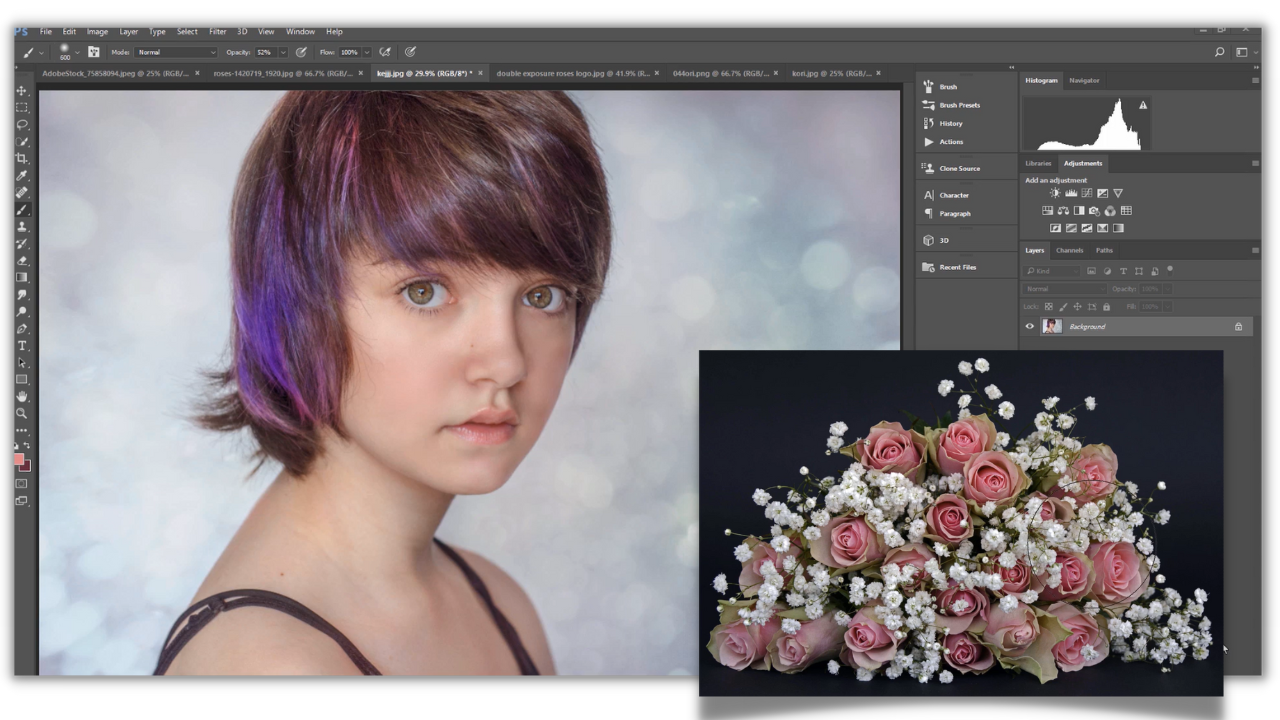
The Grand Union – Layering the Images
Open both photos in Photoshop, then drag the portrait onto the landscape, creating a new layer. It's like introducing your best friend to your favorite vacation spot – a little awkward initially but destined for a beautiful friendship.
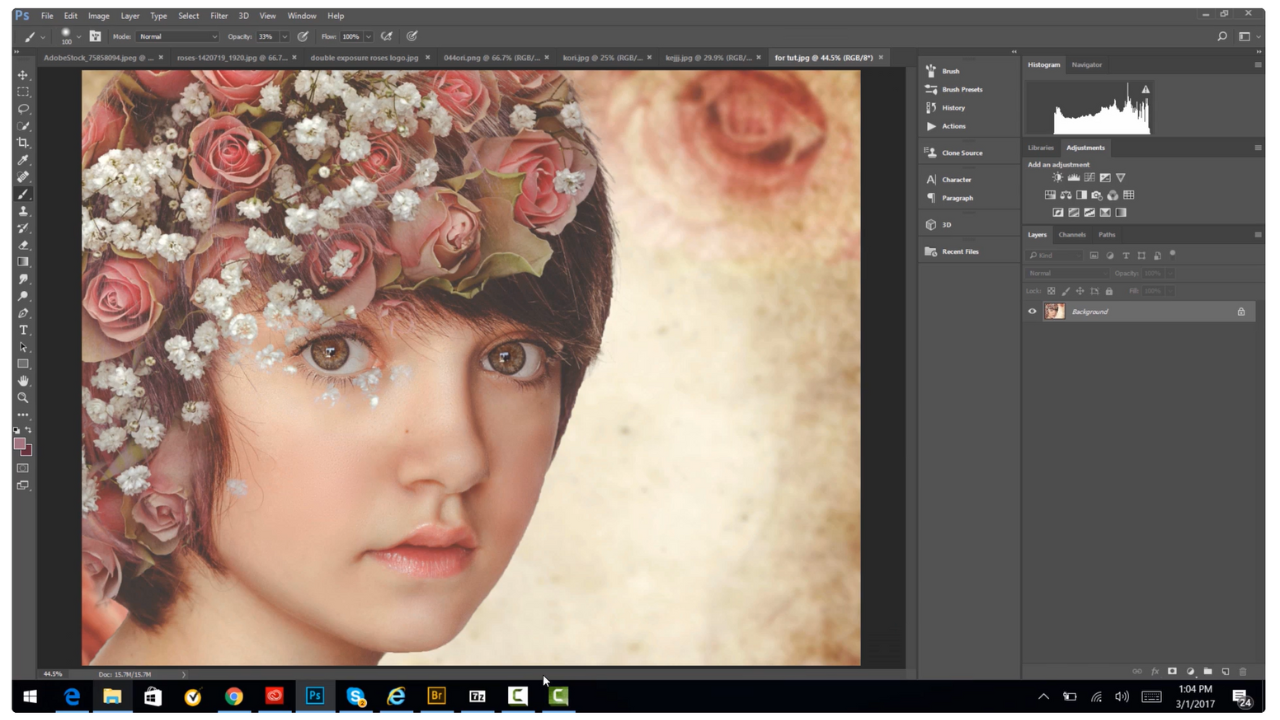
The Blend Bash – Unleashing the Magic
Select the portrait layer and change the blending mode to "Screen." This will make the darker areas of the portrait transparent, revealing the landscape underneath. But hold on; we're not done yet! Your image might look like it's been through a snowstorm but don't worry; we'll fix that.

The Contrast Carnival – Balancing the Light and Dark
To make your double exposure truly stand out, you might need to tweak the contrast of your portrait layer. Experiment with the Levels or Curves adjustment layers until you find the perfect equilibrium between the light and dark areas. Remember, too much contrast and your portrait will look like it's starring in a noir film; too little and it'll resemble a faded vintage postcard.
The Final Flourishes – The Last Polishing Touches
You can add some final touches once you've achieved the perfect blend. Adjust the colors, apply filters, or add some text to make your double exposure a work of art.
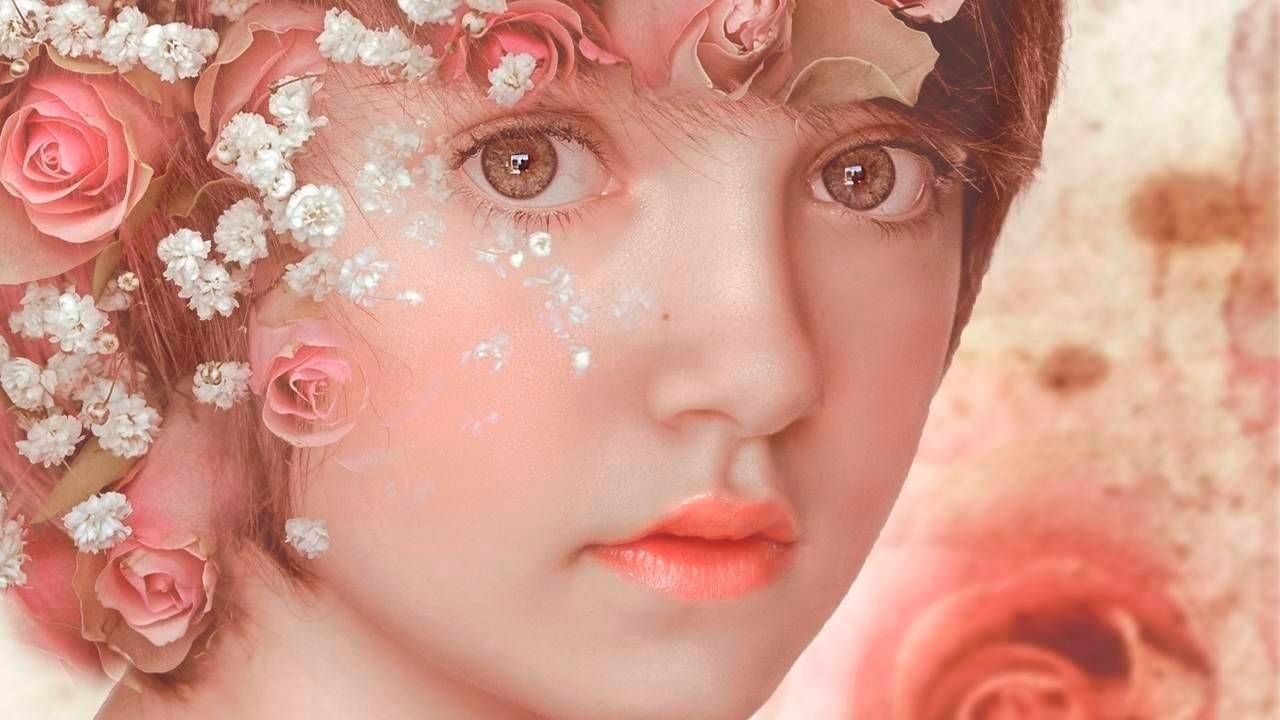
And there you have it! You've just crafted a breathtaking double exposure effect in Photoshop. Now your portrait and landscape can coexist in a harmonious, artistic symphony. So flaunt your newfound Photoshop skills, and create double exposure marvels that'll leave your friends and family saying, "Wow, that's one surreal portrait!"
Until our next digital art adventure, keep clicking, keep blending, and above all, keep having fun!
Tara Lesher
🌟 Dive Deeper with Tara! 🌟
Have you loved this sneak peek into the mesmerizing world of double exposures? Ready to master the technique and create your captivating masterpieces? The journey doesn't end here!
📸 Join the All-Access Membership 📸
Unlock the full, in-depth tutorial and discover the secrets, tips, and tricks I use to create stunning double exposures. Plus, get unlimited access to a treasure trove of tutorials, resources, and exclusive content tailored just for you!
👉 Watch the Full Tutorial Now! 👈
Don't let your creativity be limited. Elevate your skills, and let's craft magic together inside the All-Access Membership! See you there! 💖
Subscribe to our newsletter

Follow us on your favorite socials
Shop our Etsy Store
Explore
Resources
Connect
@2024 TARA LESHER | All Rights Reserved