Lorem ipsum dolor sit amet, consectetur adipiscing elit, sed do eiusmod tempor incididunt ut labore et dolore magna aliqua. Ut enim ad minim veniam

Liquid error: Memory limits exceeded
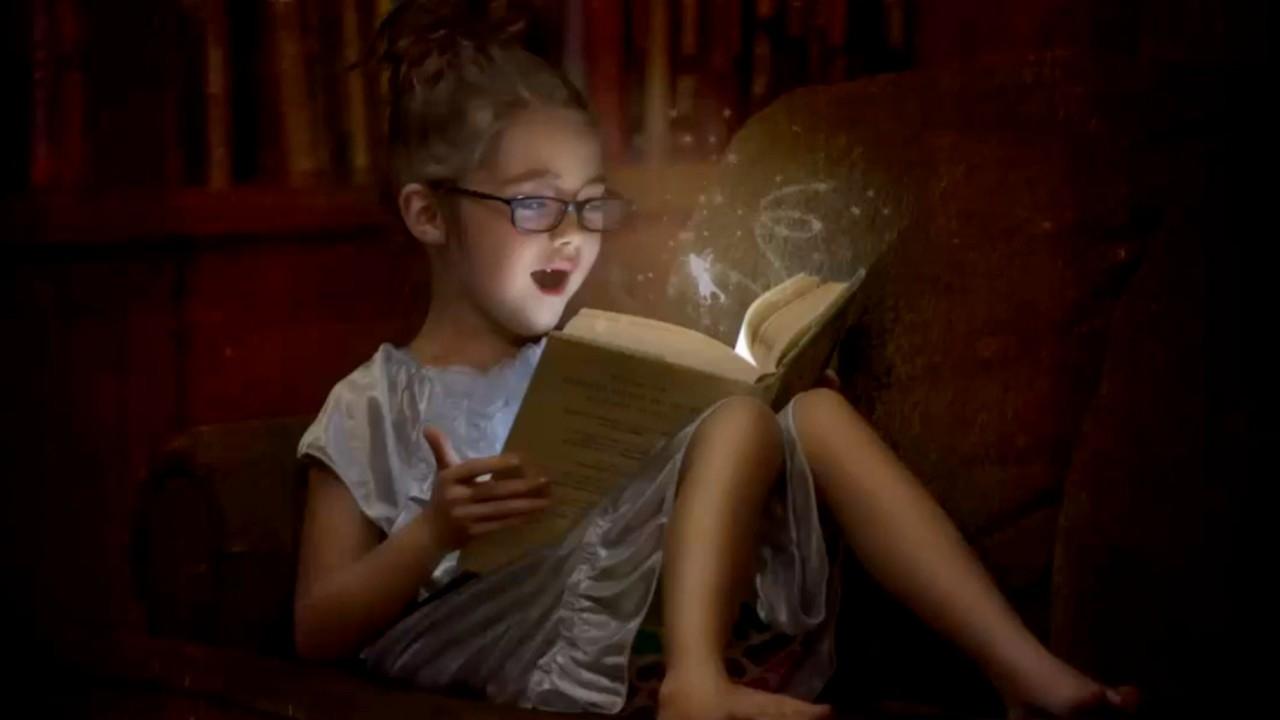
Dreamy Book edit using gradients
Mar 03, 2021
I dug through my hard drives and pulled up this fun RAW for us to work with today! This original image was shot in a dark room with just a flashlight and her book.

We will be giving this image a bit of a fantasy look with plenty of gradients, solid-color layers, and brushes.
The first thing we’re going to do is work with our camera RAW, tweaking our exposure and shadows. Next, we will mess around with the details menu and make a few more adjustments before opening our image in Photoshop. It can get confusing, but following along with my complete video tutorial available through my premium membership helps!

We’re going to straighten and crop our image before we go in and clean up some of the bruises on her legs. Then, we will flatten our image and run our frequency separation! You can use this feature in your edits with my Ultimate Workflow Action.
We will give our subject a bit of an airbrush using the gaussian blur tool. Using the details brush, I will brush a little onto her face to bring out more detail.
The flashlight sticking out from below her book bothered me, so I used her skirt to cover it up as best as I could. Then, using the eyedropper tool, we’re going to create different fill layers with various tones and mask them to brush them on where we want them. We will do this for things like our catch light, cheeks, and skin tone. Watch my full tutorial to see exactly how I go through this part of the process.

We’re going to move on to her hair, using the liquify tool to stretch it to look a bit fuller. Make sure to take care of the books in the back. We don’t want to make them look warped or zig-zagged!

Now we get to bring in our textures and use gradients to get them where we want them before bringing in some more masked solid fill layers. I will use my brushes to bring in some sparkles and our fairy. How you want to use them is totally up to you! Play around with it and have fun!

We will add a few more of our textures, playing around with filters and gradients to make our image quite magical! Finally, we will wrap things up with some curve adjustments and masking to “dodge and burn” our image!

Be sure to check out the full tutorial here.
Happy Editing,
Tara Lesher
Subscribe to our newsletter

Follow us on your favorite socials
Shop our Etsy Store
Explore
Resources
Connect
@2024 TARA LESHER | All Rights Reserved