Lorem ipsum dolor sit amet, consectetur adipiscing elit, sed do eiusmod tempor incididunt ut labore et dolore magna aliqua. Ut enim ad minim veniam

Liquid error: Memory limits exceeded
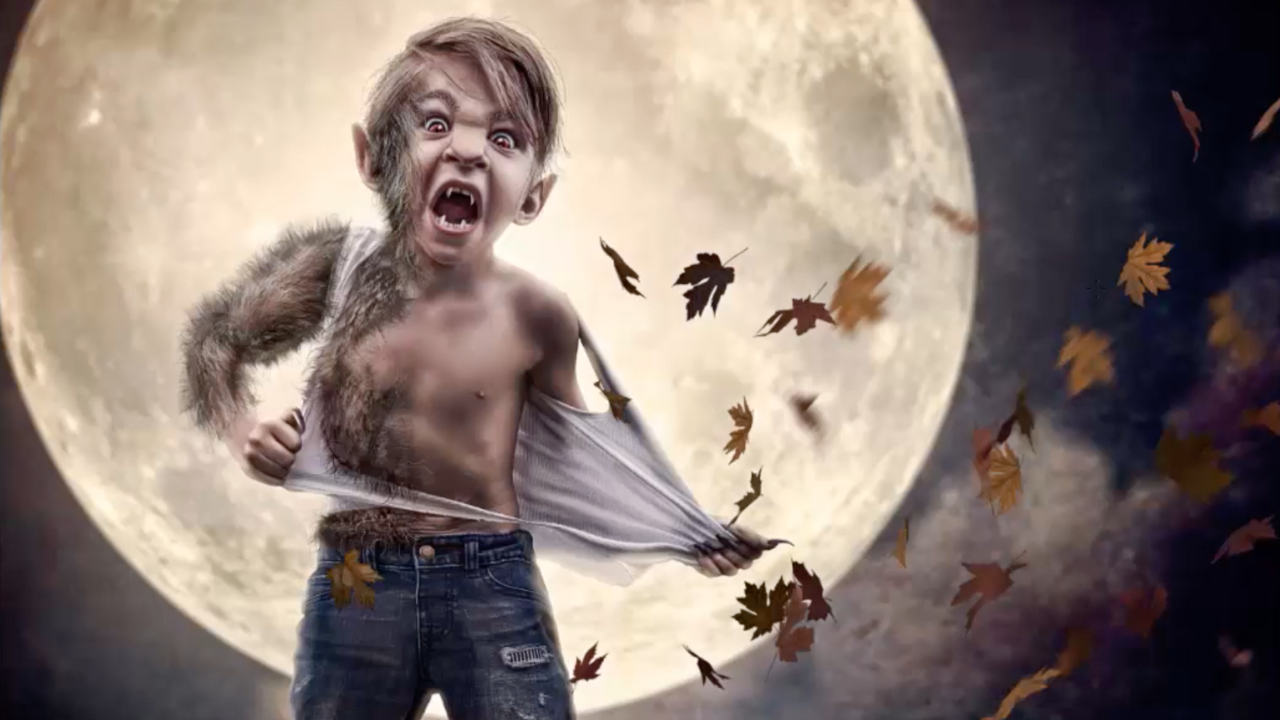
The Howling Hour Tutorial
Apr 16, 2022
Hello guys!
Today we’re going to be making something quite spooking, our very own werewolf! So this is the image we’re going to be working with today.

We start with our stock and set it up on our canvas. Playing around with our moon’s curves means that we get some of our detail back in there. Then, we’re going to use filters to adjust them and have them look like the perfect cloudy night for our werewolf! You can see exactly how I do this through my entire tutorial, available through my premium membership.

Usually, we would cut out our subject before editing, but in this case, I decided to fix him up in the original image before taking him into our backdrop. So we’re going to blur our skin here and there to give him a little more of an airbrushed look before we go in and add in our catchlights.

We’re going to play with our distort and liquify tool to make our werewolf some fangs and pointed ears! We play around with some masks before we go ahead and cut out our subject and move him into our already set up background.

We’re using pixelsquid to go and add in our grass and leaves. We’re going to create some depth with our leaves by darkening and blurring some out. To see exactly how I do this, you can watch the video available through my premium membership which is now 25% off for the annual membership. This tutorial is more advanced; going back through our older tutorials before tackling this one might be best if you’re a beginner.

I will use the color lookup on our top group to give us more of a moonlight look to guide us through the rest of our edit. Again, make sure we mask it and brush it off in the places we don’t want it.
We’re going to use the liquify tool to create our terrifying werewolf face, making his eyes just a little bigger, his eyebrows a tad bit more arched, and his nose nice and wide. Then, moving on to our claws, we're going to use a solid color fill layer to paint them in! Finally, we’re going to use a variety of shades to give the nails some depth. You can see exactly how I turn his nails into claws and his face into a much more cartoon werewolf in my full tutorial available through my premium membership.

Moving on to his hair, we will use the liquify tool to give it more volume and a fuller shape. Then we will use our hairbrush tool to add in some more hair and fill in any spots that might need filling.
We’re going to go in and create more depth with a dodge and burn mask, playing around with it so that he pops out at us and isn’t so flat.
Using the mask and the clipping down tool, we’re going to brush it on to our subject, making sure to steal from our different samples and making adjustments to have it look like he’s turning right before our eyes!

There’s so much more in this 2 part tutorial, and you can go through it with me step-by-step when you join the premium membership!
I hope you enjoyed this tutorial walkthrough and happy editing!

Subscribe to our newsletter

Follow us on your favorite socials
Shop our Etsy Store
Explore
Resources
Connect
@2024 TARA LESHER | All Rights Reserved