
Liquid error: Memory limits exceeded
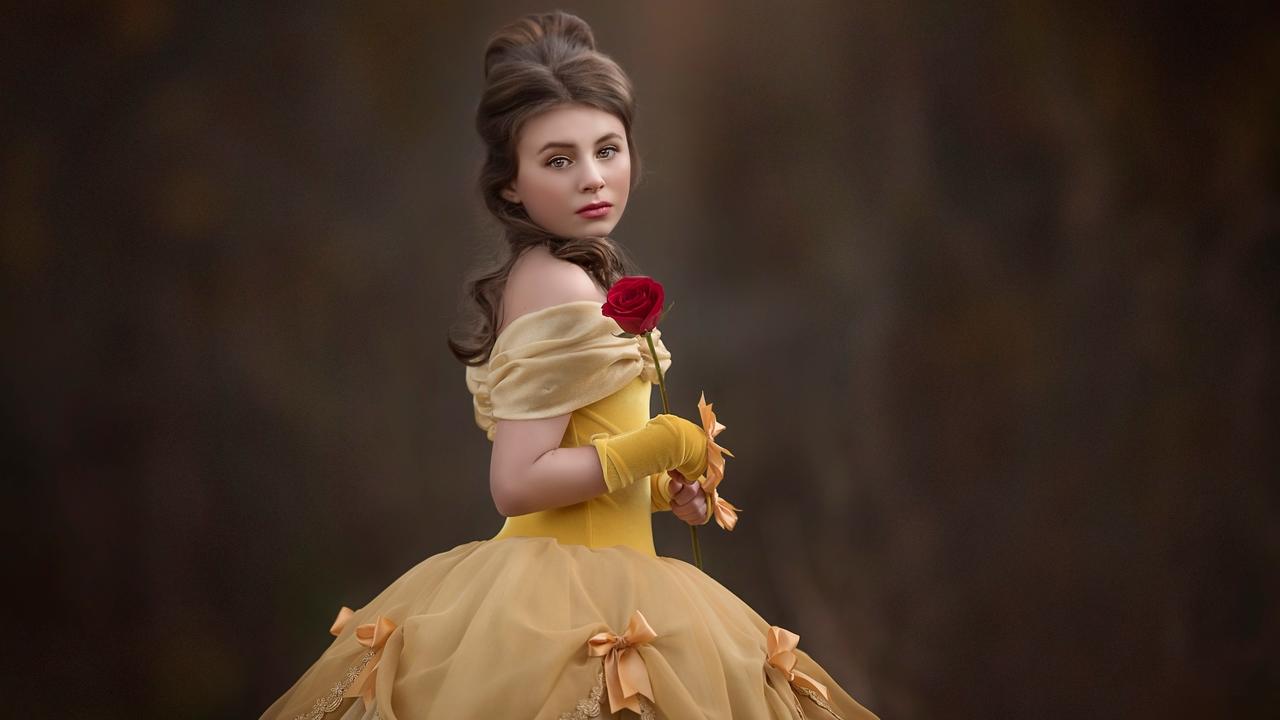
Creating a Real Life Belle Beauty
Apr 17, 2022
Hey everyone!
I used several different cameras for this shoot since I had the subject doing several twirls and running around.
Since my original image was asymmetrical, I used the crop tool to straighten the image. This is because I have a bad habit of shooting a bit crooked. Usually, I have to straighten my images a little more often than I would like to!

There is a workflow action that I have created that will help you with this edit and make things much easier; you can find it here.

It was a frigid day out, and you could tell there was some blotchiness and goosebumps on the girl's skin. I used my saved actions along with some further edits to focus on perfecting the skin and making it even.
You can watch the full tutorial on this Belle Beauty by becoming a premium member.

This edit was all about adjustments. I saved a lot of time making the essential edits with my workflow actions.

I used dodge and burn to add contrast and go over the shadow areas. I primarily focused on the eyes of the subject to bring out the inner corner of her eyes. I played around with the exposure and saturation throughout the tutorial to achieve the illustration look.
You can watch how I edited the image step-by-step by signing up for the premium membership.

For the result, I blurred and darkened the background to make the subject the main focus and appear brighter.
If you’re interested in learning how I did this edit from beginning to end, you can sign up for my premium membership. In addition, you’ll have access to dozens of other hand editing and compositing tutorials!
Don’t miss out on another tutorial; become a premium member.
Happy Editing!
Tara Lesher
Subscribe to our newsletter

Follow us on your favorite socials
Explore
Connect
@2024 TARA LESHER | All Rights Reserved