
Liquid error: Memory limits exceeded
Best Halloween Photography Tips and Tricks
Apr 18, 2022
Pumpkins, leaves, cool breezes, and cozy fires...Fall is my absolute favorite time of year! So it goes without saying that Halloween is my most loved holiday. I am that crazy chick that starts digging out the decorations in mid-September (or earlier 😉).
The one you see stalking all of the local stores after Halloween for the fantastic sales on costumes and decorations to add to my already insane collection for next year’s photo ideas and home décor.
Autumn is also my preferred time of year for outdoor photoshoots. You just can’t beat the beautiful colors, all of the leaves covering the ground lending more depth to your images, and not to mention the weather where you and your clients are neither sweating nor freezing your booties off (at least, that's how it is in the little area of the world where I live).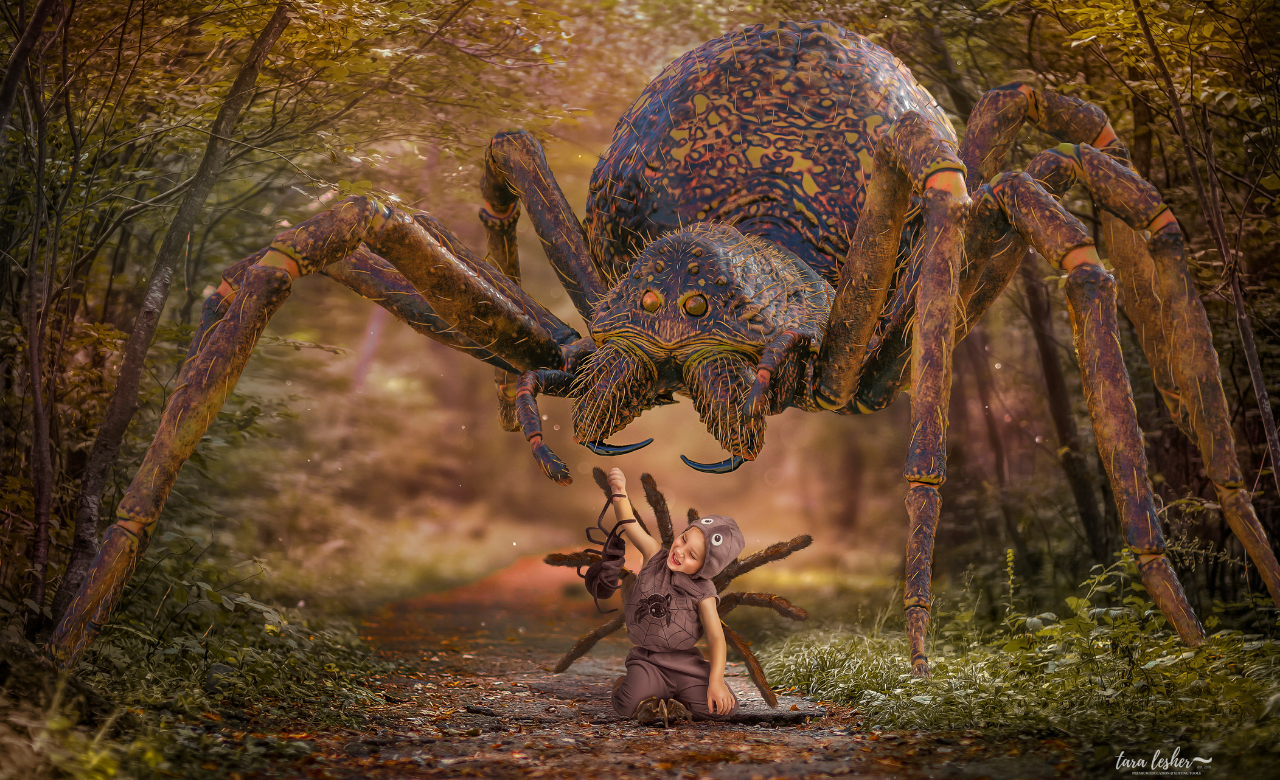
There is also no other time of year that I get more inspired to create composite images than Halloween, with all of the costumes and props floating around and the feel of magic in the air.
Below I will share a few tips for your Halloween-themed client sessions and photographing your children on Halloween night.

Client Halloween Sessions
1. Start Early
It’s always best to get your finished images to your clients before the actual holiday, so be sure that you're scheduling your sessions in time to get your images to your clients before Halloween. If you're a busy photographer or are planning to create elaborate Halloween composites for your clients, be sure to allow yourself enough time for editing, printing, shipping, etc. If your client is ordering costumes for the session, allow enough time for shipping before scheduling your session date. This is a simple consideration, but often we overlook the time frame needed to complete sessions and post work in time.
2. Mini Session Opportunity
If you offer mini sessions to your clients, Halloween is one of the best times of year to book these. Kids LOVE getting dressed up in their costumes, so you will have some delighted little clients to shoot. You can make some pretty unique setups using Halloween props, or you can keep it simple and classy by simply choosing a pretty spot with beautiful fall colors and leaves on the ground. Also, see if you can take advantage of local apple orchards and pumpkin patches for photo opportunities.
3. Props
Ok, I’m sure by now you can tell that I’m a bit obsessed with Halloween décor. Jack-o-lanterns, cauldrons, tombstones, lanterns–I love it all! If you are using props in your composites or traditional image Halloween session, keep it simple. A little witch with a cauldron, a vampire with a coffin, etc. While I like to add many elements to my composites, I prefer to keep it simple at the actual shoot. The more things you've strategically placed around the kids, the more chances they'll get knocked over or act as a distraction, not only for the children but in the images themselves. Keep your shoot focused on the kids and their costumes, and use a few items to emphasize the holiday theme.
4. Sales
Think ahead! Take advantage of holiday sales to stock up for next year’s shoots. Be strategic and envision each piece in a shot to decide if you'll use it. You can often find excellent deals after each holiday, so go ahead and put them away for next year. Once Halloween rolls around again, you will be glad you did.
Personal Halloween Sessions
1. Candids
Taking pictures of your kids trick or treating is a fantastic way to capture Halloween memories each year, but try to keep it simple and stress-free by shooting for candids and not making your kiddos stop at every house and strike a pose in front of the jack-o-lanterns and six ft. tall skeletons. You will appreciate those images so much later on if they're natural snapshots of them just being kids on Halloween night.
2. Avoid Flash
Halloween is meant to be spooky and magical, so leave that flash off and capture some of the natural ambiances. But, of course, we don’t want our images so underexposed that we can't tell who is in them, so play around with your settings. Lower your shutter speed, raise your ISO, and use your largest aperture.
3. Perspective
Switch up your perspective. I suggest you get at eye level with your kiddos or even below to make that goblin appear larger than life for a more dramatic look.
Action shots are also great. For example, try capturing the kids running down the sidewalk in their costumes or walking up the steps to get their candy.
Another idea is to shoot an angle from behind the person giving candy out so that you can get the expression on the kids’ faces when they're getting their goodies.
4. Silhouettes
Oh, Halloween silhouettes. How I love them. You will most likely be heading out on your trick-or-treat adventure around twilight, the best time to capture a silhouette. These shots work best when the subject has a costume with an identifiable shape, such as a witch.
Seek out open space and ensure that your subject is facing away from the sky/sunset.
Also, remember to shoot in manual. You will want all of your subjects in complete focus, so be sure your aperture is set to at least 8.0. Keep your ISO as low as possible. Meter off of the sky and use spot metering mode. And again, be sure your flash is off, or none of these tips will work.
5. Last but not least, take a few shots and then PUT YOUR CAMERA AWAY and enjoy the night with your family!
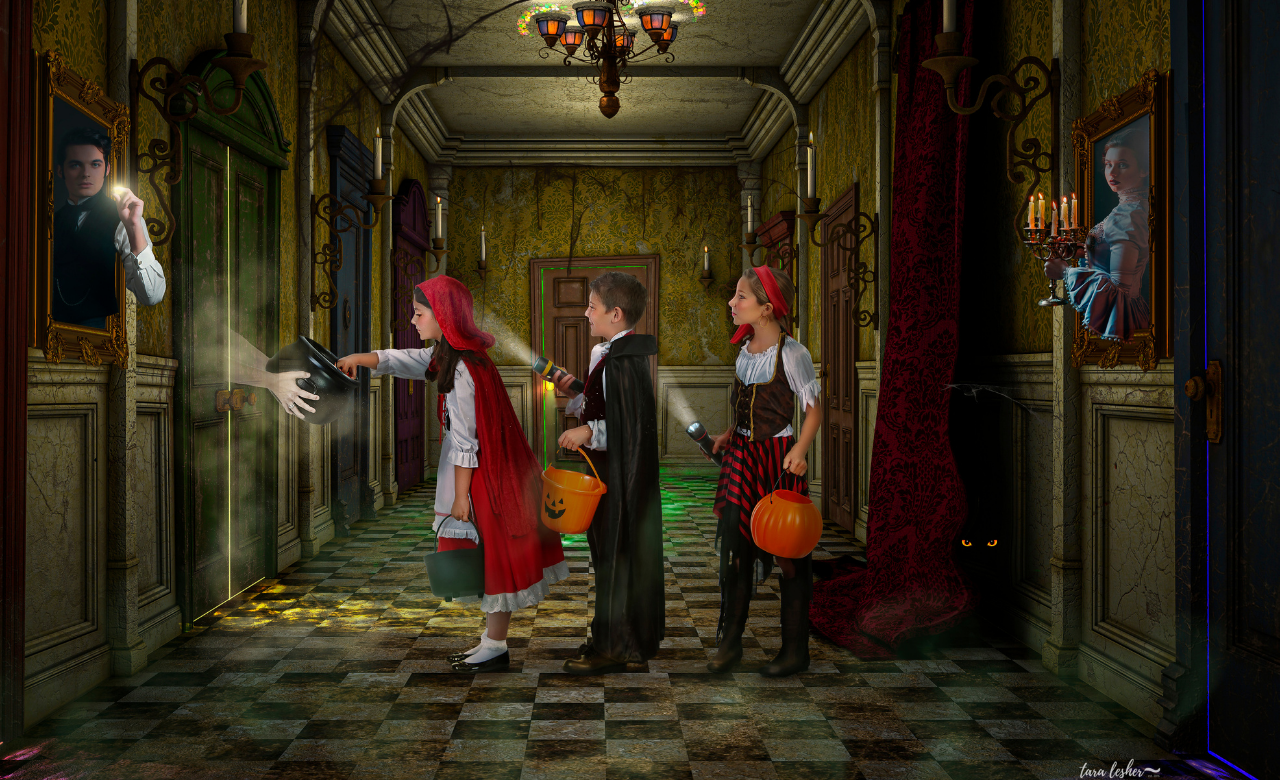
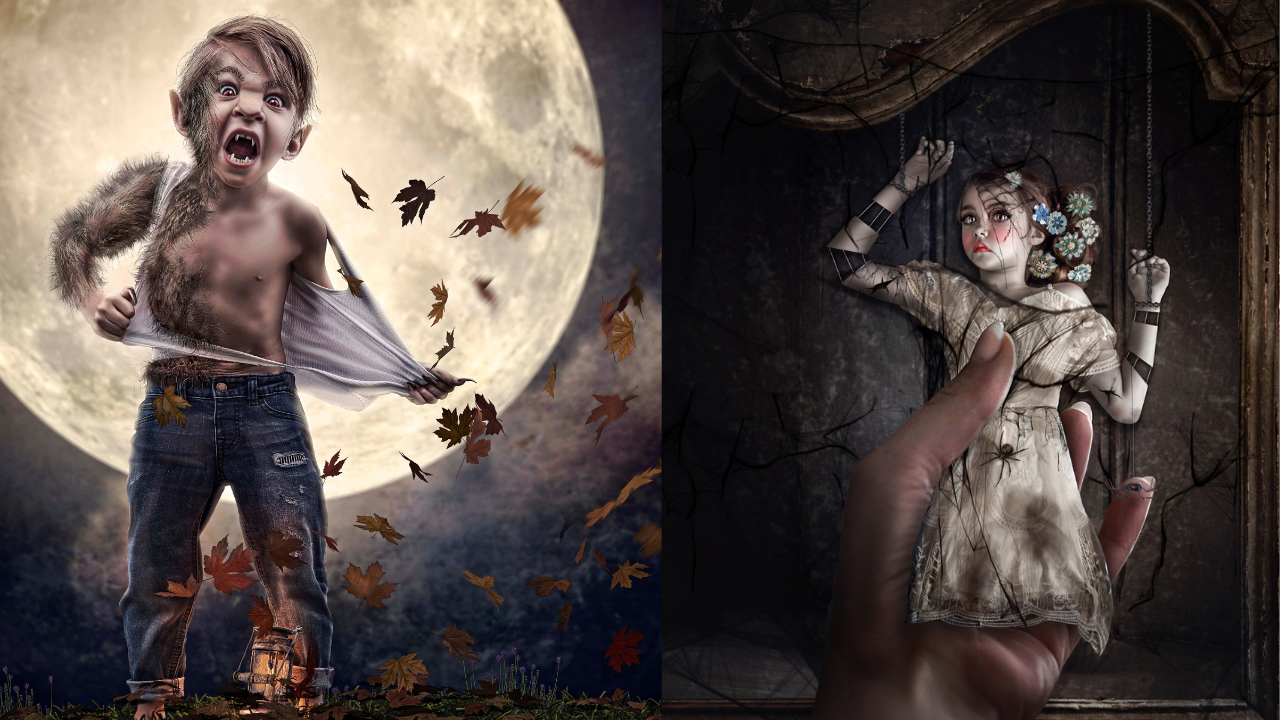
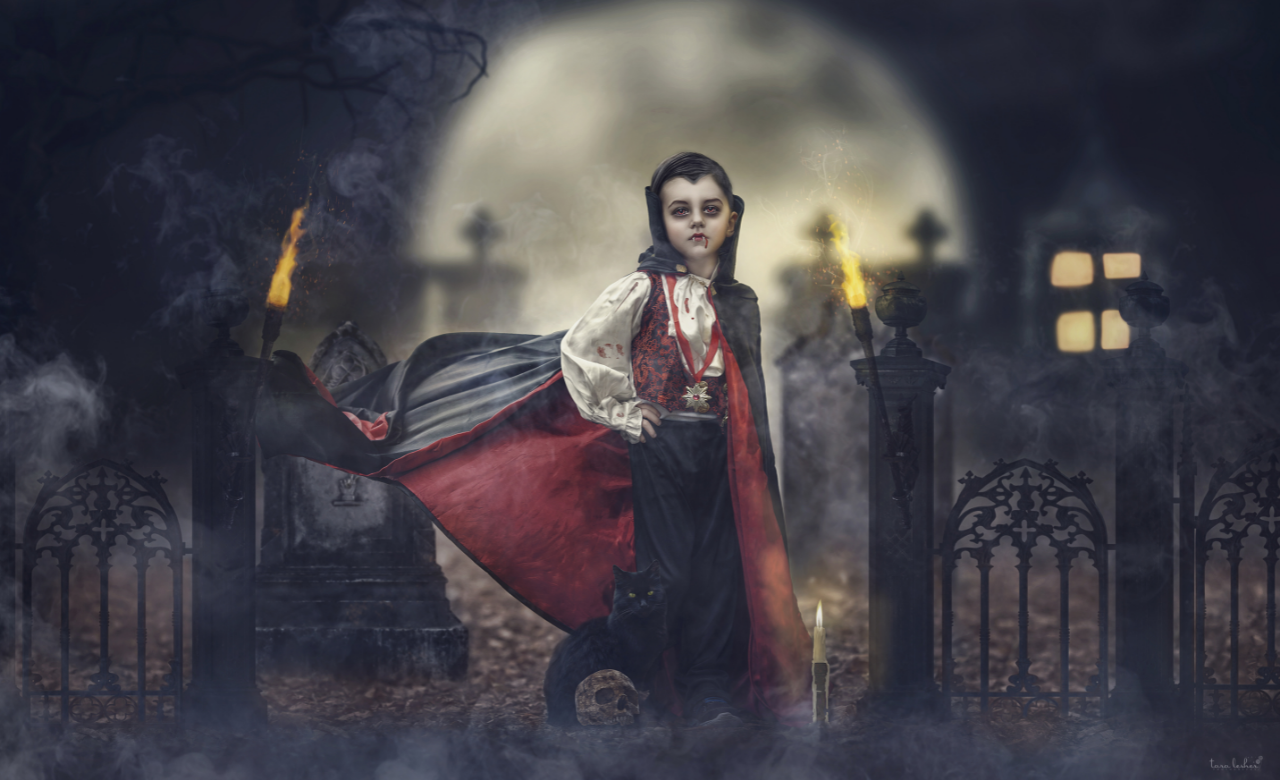
Discover how to create spooky images like those above by watching my easy-to-follow tutorials. It's simple and fun! Click here to learn more.
Happy Editing!
Tara Lesher
Subscribe to our newsletter

Follow us on your favorite socials
Explore
Connect
@2024 TARA LESHER | All Rights Reserved