
Liquid error: Memory limits exceeded
Fire Goddess Composite
Apr 18, 2022
Hello, fellow creators!
This week's live streaming tutorial in the premium membership is also July's sneak peek offered to the public titled "Fire Goddess." A fierce fantasy image edit with fire and smoke overlays, various blend modes, and layer styles.
Geared towards intermediate to advanced Photoshop users, but as a newbie, I found the broken down step by step sections easy to navigate and valuable on where to obtain viable stock for practice and clients.
Background Layering First, we want to use the rectangle marquee tool to click and drag and select our whole volcanic background. Then control or command C to copy, followed by control or command V to paste.
Quick Tip: To keep the same dimensions when resizing your background, be sure to hold down the shift key.
 Adding a rock from another piece of stock, we use the quick selection tool to select all around the rock then control or command T to grab it and paste it to our volcanic background layer.
Tara shows us how to use the warp tool to flatten the rock we want to add our model on top of. It helps to gain the right perspective and allows more of the background layer to show through.
Editing tip: saving and naming layers to minimize the number of layers open makes it easier to navigate your panel.
Model Fitting Utilizing the updated auto subject select Photoshop feature, we can grab our entire model with one click and move on to masking around our subject with a hard black brush set at 100% opacity.
Tara shares a time-saving tip; on any straight point, you can lay down your starting mark and hold the shift key while selecting your end mark then click to clear a straight line.
Make sure to zoom in and out around the image to see the bigger picture and refine the small details. After applying a few more workflow tips shown in the full tutorial, you will want to convert to a smart object before resizing your stock to ensure the pixels stay the same.
Playing with fire The combination of fire and lava overlays to smoke brushes brings depth into the background for a strong model image such as this.
Place all of your blazing elements in the general area where you want to place them in the layer and use motion blur to add action and movement to the scene.
When selecting stock from a crowded overlay, Use the Laso tool at zero feather pixels to grab the images versus the rectangle marquee tool.

Edit to use the precision puppet warp tool to pin and anchor in a crown of flames around her hair that is fit for a queen.
 Another expedited workflow tip Tara teaches is to turn off the model layer and use the quick selection tool to select a small piece of the rock stock.
Place it as an overlay on top of our subject by dragging our rock layer above the model layer.
To further bury her into the scene, apply a layer mask, and use a mix of soft black and white brushes at 100% to blend around the edges of the rocks.
For any areas that may look cut and pasted, use a hard brush to edit those out.
Clicking back to our model layer, choose a solid color for a shadow. Control or command I to invert our mask model layer. Then using a hard brush at 50%, brush a little between our model and the rocky edge to make her look planted behind the rock.
Just a little filter blur, then gaussian blur is needed since our shadow is so close to our subject.
 Before adding in our final stock pieces and embellishments, we make a copy layer of our model to bring down the highlights while turning up the texture and clarity in the Camera RAW filter.
 Set the blend mode to soft light and take down the vibrancy and saturation to help the rock and model stock blend seamlessly with our background.
To further darken the rocks, merge the layers first. Clip down your curves and slide the black point over to taste.

To see all the intricate techniques used to complete merging our burn, smoke, and fire layers on and around our model using curves, dodge and burn, brushes, and blend modes; you will have to watch the full tutorial here.
Heating up If you want to incorporate the effect of her sitting on top of the molten lava rocks, select color range, click on a dark spot on the rock, then lower the fuzziness.
Select a solid color before taking a hard black brush to take off everything we don't want glowing.
Experimenting with blur is an easy way to bring in movement and dimension.
Glow on On top of your model layer, again choose a solid color panel and apply it as an overlay and invert it. Taking a soft brush and lowering the opacity to 50% begin to brush the highlight glow onto the model's skin.
Beginner Tip: Use the placement of lava beneath her to place the glowing highlight on your subject.
Bejeweled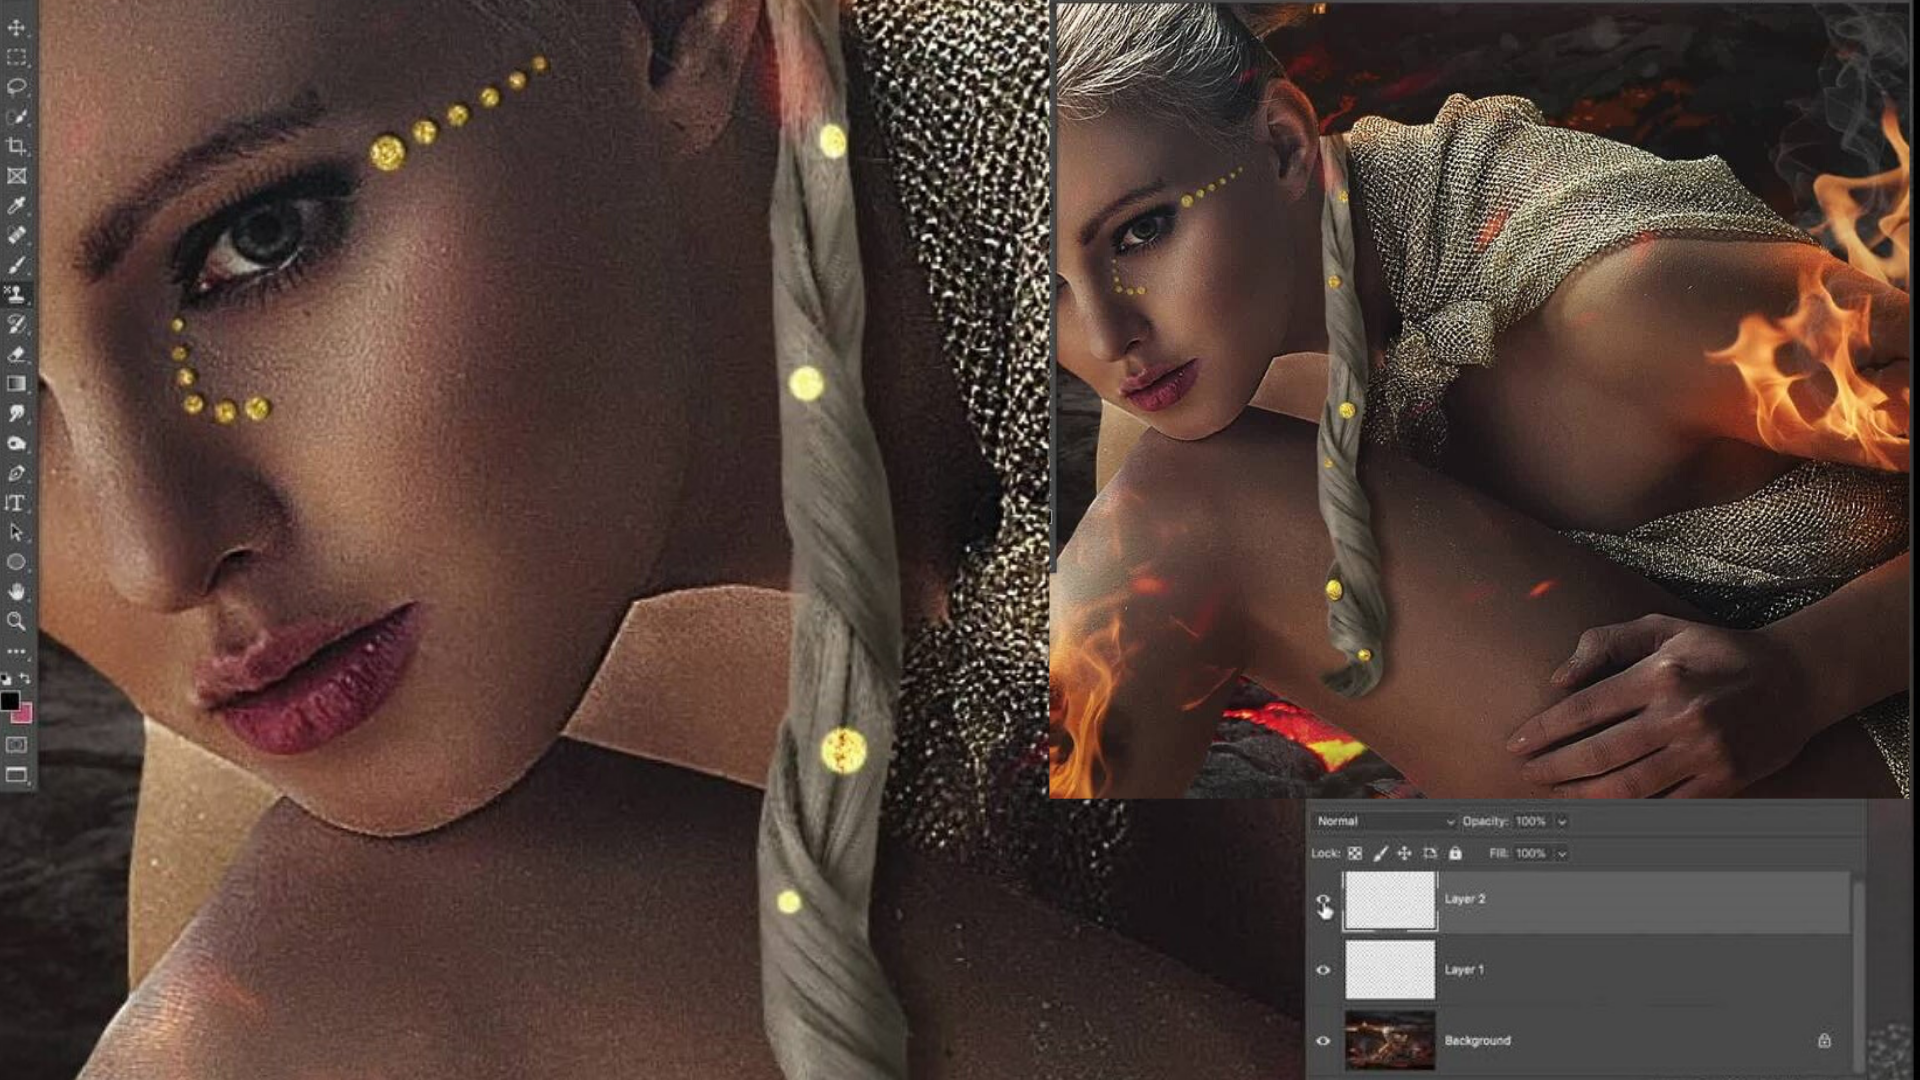 At this point, we should flatten and save our image to add embellishments to our goddess.
The pattern stamp tool, set to blend mode, then color dodge, allows us to choose a texture or pattern to stamp the design of your choice. Play with adjusting the angles and opacity of your tool for seamless placement.
Hard brush a solid black layer behind the pattern to add shadow and a soft white brush to add a highlight on top.

This tutorial is loaded with individuals steps not covered in this blog to artistically blend the lighting, shadows, and color tones for a cohesive final image.
You may purchase the July 2020 Sneak Peek, Fire Goddess tutorial by itself until July 31st, 2020, and then it returns to the vault until released as a collection in the new year.
If your passion for advancing your editing skills is ignited, I encourage you to invest in yourself and your business with the TLE Premium Membership. This tutorial and over 350 more on every photography and photoshop subject are waiting for you.
Creatively yours,
Kristin Mantta- Premium Member
Tara Lesher Education
Subscribe to our newsletter

Follow us on your favorite socials
Explore
Connect
@2024 TARA LESHER | All Rights Reserved