
Liquid error: Memory limits exceeded
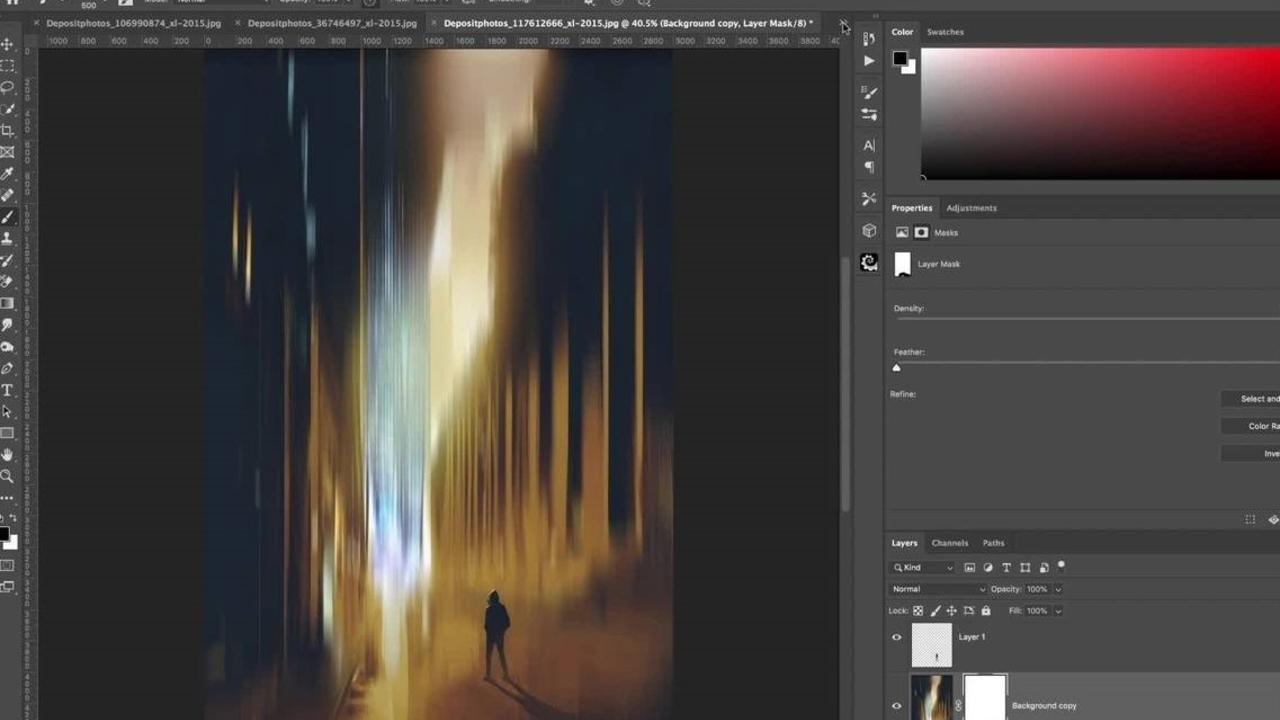
Image editing in motion🤸♀️
Apr 18, 2022
Hello Creators!
In this week's premium membership tutorial, you're going to learn through three image examples how to use the motion-blur feature. This Photoshop tool will apply a surreal aesthetic, as well as complement any of your spooky, sport, or dramatic edits.
Let's get started.
First, open the photo that you want to use. Go to File > Open, choose your photo, and click Open. Then control or command J to copy a background layer.
Next, Choose Filter > Blur > Motion Blur and adjust the angle to match the direction of your image, creating a sense of movement by adding a blur that flows in one direction. In this case, vertically with the tree line.
Use the distance setting to control the amount of blur that is applied.

Isolate the blur effect by applying a mask layer to keep the detail and using the soft black brush tool to brush over areas that should not be blurred, like in this example, where we want the subject in focus.

Take it a step further by changing the radius from vertical to horizontal to add more depth and another motion blur element on a parallel angle to the foreground!
City Life.
The second example is a stock photo from depositphotos.com. Tara demonstrates how to extract our subject by utilizing the quick selection tool.
Zoom in to your image and make a selection around your subject. Use the minus to rid the center part between the legs. Then control or command J to copy this subject layer.
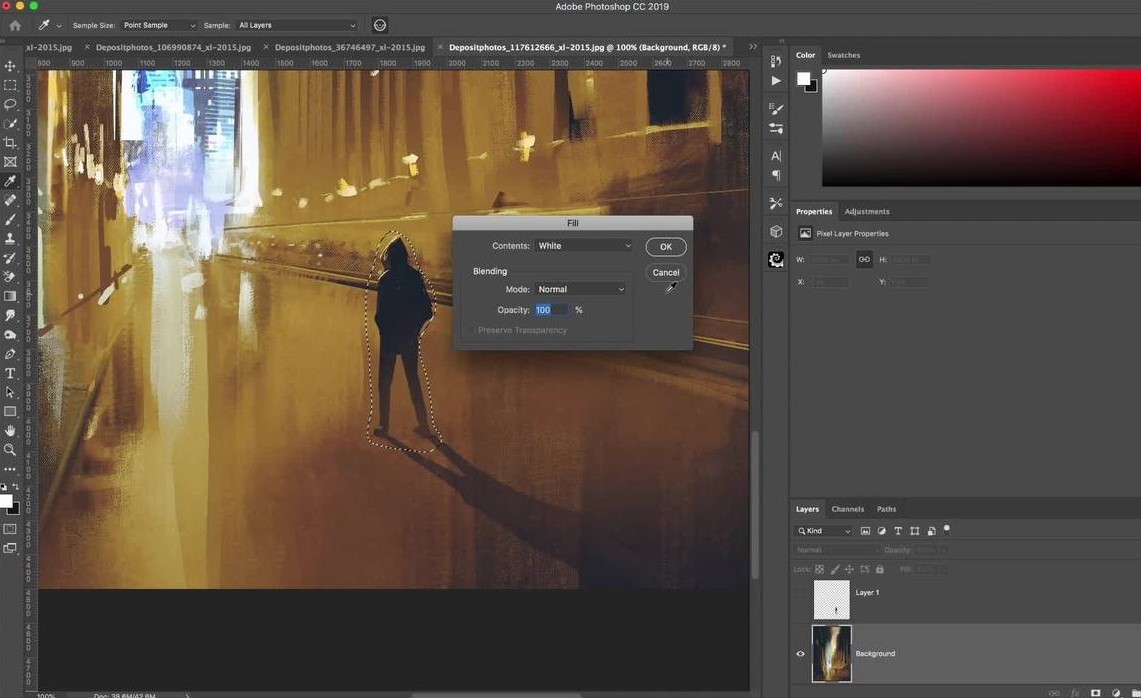
Click back to the background layer and use the lasso tool to make a loose selection around your subject—Right-click to fill with content-aware.
See what you did there? You just eliminated the need for masking with this quick tip!

To finalize this image, we next turn or subject layer back on and make a copy of the background layer. Choose Filter > Blur > Motion Blur and again adjust the angle ratio to match the direction of your choice.
Next, apply a layer mask to the background copy to use a black brush at 100% opacity to bring back the details you want to showcase.
I hope if you have not tried this simple effect on your images, you will be motivated to give it a try. Any level of photoshop user will be able to master this technique!
If you are interested in joining the Tara Lesher Education family to view this full tutorial for the third example and over 500+ more, please click here.
Happy Editing!
Kristin Mantta- Premium Member
Subscribe to our newsletter

Follow us on your favorite socials
Explore
Connect
@2024 TARA LESHER | All Rights Reserved