
Liquid error: Memory limits exceeded
Not Just A Pretty Purple Dress - Composition Overload
Apr 16, 2022
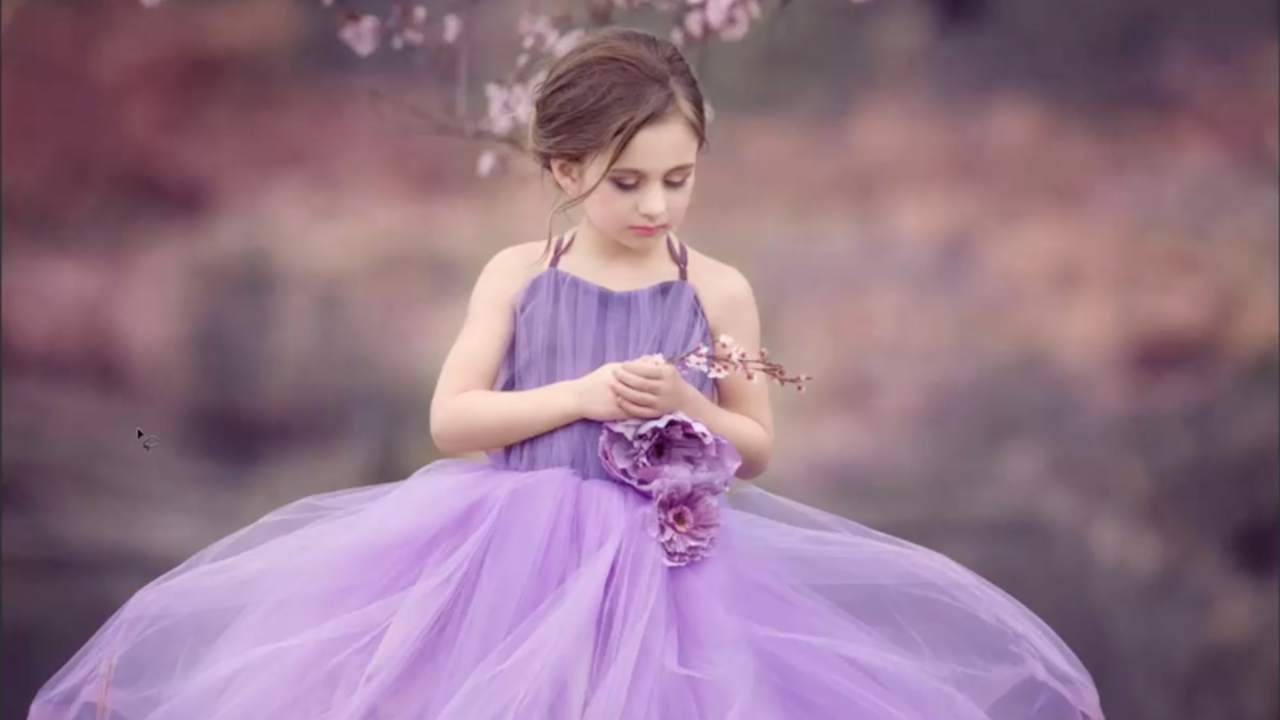
Hey guys, for this tutorial, we’re going to be making some significant changes to the composition of this image from my premium membership.
I like to start my edits by bringing up the shadows before warming up the whole image using the temperature bar. I’m then going to go into the HSL grayscale tab and alter the skin tone.

After I have my tones where I want them, I will adjust my image until it’s at an angle I like before going and using the fill tool to make a natural-looking extension of my image. You can find out exactly how I made this edit by signing up for my premium membership and accessing the full video.

I want my dress to look more balanced, so I duplicate the left half of the dress and take my time to adjust it to my preference. It’s something you’ll have to play around with to make sure it looks natural. Masking the layer and using the brush tool at a lower opacity makes it a much smoother adjustment.

Then, I made additional layers with pink and purple shades to add those fun hues I’m looking for. I also adjust my lighting tones and curves to ensure I get a nice glow on her skin and a serene background around my subject.

I hope you enjoyed this tutorial, it was definitely fun to see the transformation from before to after. If you loved this tutorial, check out my other tutorials by signing up for my premium membership.
Happy Editing!
Tara Lesher
Subscribe to our newsletter

Follow us on your favorite socials
Explore
Connect
@2024 TARA LESHER | All Rights Reserved