
Liquid error: Memory limits exceeded
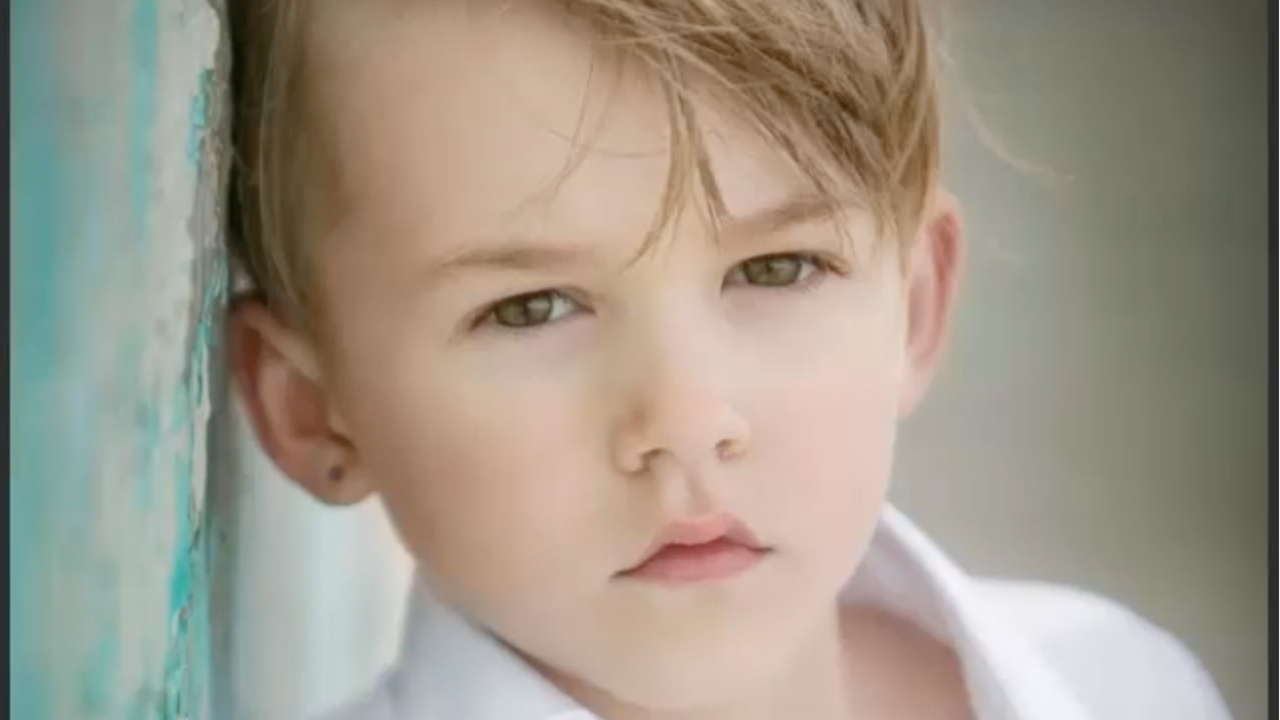
Pouting or Posing? A clean photoshop edit
Apr 16, 2022
Hi everyone, in this tutorial, we go over how to clean, edit, and make our subject pop out!
We first look at our camera RAW and the color cast on this little man’s shirt and ears before we finish with a clean edit.
We will bring up our shadows and warm up the image by moving over the slider on the Temperature bar. We're hopping onto our HSL/ Grayscale section, where we’re going to brighten up the skin using the Oranges slider and brighten up our shirt by moving over our slider on the Blues.
Playing around with the saturation also helps us get the image to look more the way we want it, less blue and warmer, before we open up the raw camera adjustments in Photoshop.

We’re going to start by selecting a lovely area of skin that we want to sort of “ airbrush” and clean up. After making your selection, you can go to Filter > Blur > Gaussian Blur and play around with the intensity until you find the right balance. Find quick shortcuts for this process by grabbing my membership and watching the full tutorial!

We’re going to follow this up with an inverted Hue/ Saturation layer with reduced saturation in the reds and increased brightness, and we’re going to brush this onto areas that are just a little too red.
We will adjust the brightness and contrast using a curves layer before we start working on the skin directly. After that, we want to create a fill layer using the eyedropper tool and blend it using soft light mode. Finally, after we’ve done this, we’re going to invert this layer to brush it onto our subject the way we want it, lightning areas that may be too dark. I know it’s a lot to follow, so I recommend looking into my membership, where you’ll gain full access to this video tutorial and tons more like it!

Moving onto our eyes, we will create two separate curve layers to “dodge and burn” the parts of the eyes we want. Then we’re going to copy our background layer and go to Filter > Other > High Pass, moving it up some. Finally, we will invert it and brush it onto parts like our eyes and mouth that need sharpening.
We also add a vignette and mask it so it’s only where we want it. After that, we create a vibrance layer to bring out those colors on the wall, using a mask to remove most of them from the subject.
The last thing we want to do is bring out our subject by going back into camera RAW and increasing the clarity of our subject.
Thank you to one of my members, Debra Weisheit, who shot this at my Daytona Workshop and let us use it for this tutorial edit! I hope you enjoyed this tutorial; check out my other tutorials by signing up for my premium membership.
Happy Editing!
Tara Lesher
Subscribe to our newsletter

Follow us on your favorite socials
Explore
Connect
@2024 TARA LESHER | All Rights Reserved