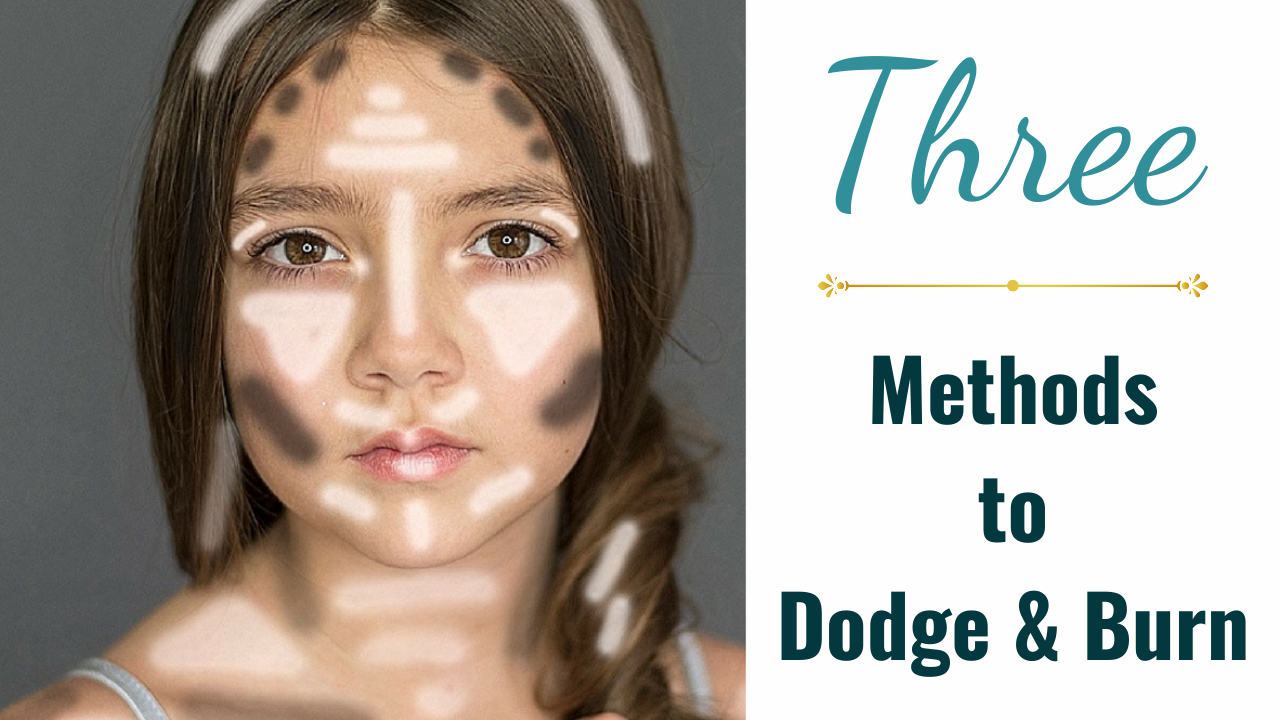
Three Methods to Dodge and Burn
One of my favorite processes in editing is dodge and burn. I get asked often, "How did you get that illustrated look?" "How did you make your subject pop like that?" and "How did you make that image look like a painting?"
The answer is always...layers and layers of dodge and burn.
Dodge and burn are used to lighten and darken specific areas of an image, based on the darkroom technique of regulating exposure to those areas. It is often used to emphasize and de-emphasize features of the artist's images.
Dodging is intended to lighten specific areas, while burning tends to darken specific areas.

There are so many ways to dodge and burn your image within Photoshop. These days, I use the dodge and burn layer that I have built into my Ultimate Workflow Action, but a few of my other favorite techniques are:
1. The dodge and burn tools within Photoshop
To begin, create a duplicate layer of your background. Next, choose your dodge or burn tool and select between your mid-tones, shadows, or highlights. Next, brush onto the desired areas, then use the sponge tool to correct and color-shift. You can also change the blending mode to luminosity for this.
2. A 50% gray layer
This method uses black-and-white brushes on a 50% gray layer to achieve your desired effect. The first thing you'll want to do is create a new layer, fill it with 50% gray, set the blending mode to overlay, and duplicate the layer to have one for dodge and one for the burn. (You can do both the dodge and burn on one layer if you like, but you will have more control to adjust the opacity of each if you do them separately) Next, grab your white brush for dodging and your black brush for burning.
3. Curves
For this method, you will bring the midpoint up under RGB, invert the layer, and brush onto the desired area you want to dodge. You will do the opposite and bring your midpoint down to burn with curves.
Be sure you don't push your points too far from the center, as you want to keep this effect subtle. As always, several low-opacity layers built up will give you a more natural look than going all out at once. Also, avoid any color shifts by setting the layer's blend modes to luminosity.

So why dodge and burn?
Dodge and burn let you bring out highlights and emphasize shadows in your images, making your subject (and background, if you dodge and burn the background) pop, and highlighting all the details in the picture. Also, if there are areas you would like to alter or minimize, dodge and burn are perfect for that. It's always important not to drastically alter the natural highlights and shadows, as this can distort your images.

The image below is a guide to where I typically like to dodge and burn for portraits, but I always try to go with the natural lighting patterns of each image.

Now that you've learned a few different methods for using dodge and burn on your images, try them out and see which one works best for you! That's it!
I hope you enjoyed this post, and I hope you check out the full video by joining my All-Access Membership today.
Happy editing!
Tara Lesher
Want to keep learning with me?
Drop your name below, and I’ll send you creative tips, new tutorials, and the good stuff I only share by email.
No pressure. Just inspiration when you want it.
We hate SPAM. We will never sell your information, for any reason.
